Showing posts with label Reception. Show all posts

Wednesday, August 4, 2010

Wedding Recap #10: Our Reception!

After a long day and night, it was finally time to party! Our reception literally could not have gone any better. When we walked into the reception hall for the first time as a married couple, it was such an amazing feeling. Everyone stood up when we entered and clapped for us, and the cheers probably could have been heard from across town. It was so great to see all of our family and our friends there to support us, as well as to see all of my hard work pay off. All of my DIY projects fit perfectly together in the space, and I was getting compliments all night on the decor. So many guests couldn't believe that all of the decor had been made by me, and all I kept hearing all night was, "That's so Lacey!" It was so nice to get recognition for everything because in the end, it was ALL worth it. Another highlight was when I entered the reception hall, and I caught a glimpse of our cake. I was in total awe. After all of the crap that we had gone through earlier in the day, to have this beautiful wedding cake sitting in front of me was so overwhelming. I had no idea how it was going to turn out at all, and I gave the bakery free reign over the cake since it was so last minute. It was perfect. Check out everything below!

Our get away car! A 1930 Model A, courtesy of my husband's grandfather.

My photographer took this while she was driving!


My Maid of Honor giving her speech. It was amazing. Also, isn't she adorable?

She made us cry.


She caught my toss bouquet!

Then, our nephew caught the garter. HA!

Time to dance!


Overall, after all is said and done.. I give our wedding day a perfect 10. It was everything that I had ever hoped for and ever wanted. Sure we had some problems, but in the end, everything and I mean EVERYTHING worked out. We definitely had someone on our side that day =) It was without a doubt, the best day of my life.. so far!

Monday, July 26, 2010

Wedding Recap #7: Our "Dudleys" Wedding Sign

A few weeks before the wedding, my husband and I wanted to add something extra to our Sweetheart Table. So my husband and I decided to make a plaque that would say, "The Dudleys," and hang it from our table. Plus, we knew once the wedding was over, we could hang the plaque up in our house as a momento. Check it out below!


Wanting to complete this on your own?

Materials Needed:

Wood (My husband suggests 24x48, roughly)
Drill
Heavy duty wire
Wood glue
Paint
Wooden Tapered Plugs (Pegs)
Super glue
Letters
Jigsaw
Oval cardstock template (Created on Microsoft Publisher) - Optional


1. We began by first buying the individual letters to spell out our name at Hobby Lobby, along with some black spray paint.
2. After painting the letters, my husband attached the plugs (pegs) to the back of the letters with the wood glue. The plugs gave the plaque a more 3D look so that the letters didn't just rest on top of the plaque, but actually had some height.
These look similar to the pegs that we used. They were about 1/2 inch tall.

3. My husband then used a jigsaw to shape the wood into the oval shape. I created a simple cardstock template on Microsoft Publisher, printed it off, cut it out and taped it together. My husband attached the template to the top of the wood and then cut the shape out.
4. He then used a high gloss white paint to paint the actual plague.
5. After the paint dried, he used the super glue to attach the letters to the plaque.
6. He drilled two small holes on the top of the plague and ran the heavy duty wire through the holes. He left enough wire so that when we attached it to our table at the reception, the wire was able to reach the legs so that we could wrap the wire around them.

Ladies, if you're looking for a cute, fun, simple project for your husbands-to-be to complete, have them do this! My husband enjoyed doing it, and loves that we incorporated it into the reception. He's even happier that we have it afterwards to remind of us our wonderful wedding day!


Sunday, June 20, 2010

Wedding Recap #3: The Centerpieces

Another DIY that I chose to tackle were our centerpieces. My husband and I had bought these aluminum pails from Hobby Lobby for about $3.99 each. They were originally in bright colors, but they didn't match the wedding, so my husband spray painted them all white. We were very fortunate with our flowers because we were able to buy them wholesale. We got 50 yellow, 50 orange and 50 hot pink gerber daisies, and only spent about $1.05 per stem. Overall, I was very happy with how they all turned out. Check out our experience below!
The wholesale single-stemmed daisies


The pails


I found these glass bottles at a local glass factory in my hometown for $.50 each! I put a single gerber daisy in each, and put them on the memorial table and a couple on our sweetheart table.


My awesome bridesmaids helping me out with assembling.


The finished centerpieces. My bridesmaids though that the pails needed a pop of color, so my Maid of Honor went to Hobby Lobby and bought the sheer ribbon to tie around them.


Friday, June 18, 2010

Wedding Recap #2: The Favors

For our favors, we decided to do cake balls. They were delicious! We bought 2 devils food and 2 classic white cake mixes, along with 2 milk chocolate, and 2 white cans of frosting. We basically followed the directions found on Bakerella. We made enough to alternate flavors at each place setting at the reception, and this is how they looked on the tables..

Materials Needed:
  • Cake mixes (We made 4 boxes of cake, which made about 130-140 cake balls.)
  • Frosting (We used 1 can of frosting for every 1 box of cake.)
  • Candy Melts (We coated the white cake in vanilla candy and the chocolate cake in chocolate candy.)
  • Decorations (Sprinkles, Gel, Drizzle Icing etc.)
  • Cookie Sheets
  • Parchment Paper
  • Any baking materials needed for baking the cake mixes (Oil, Eggs, Water etc.)
  • Optional: Cellophane bags
  • Optional: Ribbon or Zip-Ties
Directions:


  1. Bake all of the cake mixes according the box directions. Allow all of the cake mixes to cool appropriately before the cake ball process.
  2. Once the cakes have cooled, crumble one pan of cake into a large bowl. (This is one of the fun parts since I doubt you were allowed to do this as a kid =p). Crumble the cake evenly so that the frosting will coat better.
  3. Add 1 can of frosting to the now-crumbled cake. Make sure to have squeaky clean hands or gloves before this next part.
  4. Begin mixing the frosting with the crumbled cake. It will be easier to complete this step if you use your hands, and not just a spoon, but using a spoon will do the trick too. Mix until all clumps of frosting have been mixed, and the cake resembles dough.
  5. Find a flat surface, and cover your cookie sheets with parchment paper.
  6. Begin rolling small amounts of the cake between your hands to make a ball. The cake balls that we made were  roughly 1"-1 1/2".
     7. Once all the balls have been made, place the cake balls into the freezer for about 2 hours for them to set.
     8. After 2 hours, melt your candy melts according to the package directions. (We melted about 1/2 of the bag at a time at about 1 minutes and 25 seconds.) 
WARNING: DO NOT ADD ANY LIQUIDS TO THE CANDY MELTS BECAUSE YOUR CANDY WILL NOT MELT PROPERLY OR COAT THE CAKE BALLS EVENLY WITHOUT HARDENING TOO FAST! THIS INCLUDES FOOD COLORING.
     9. When coating the cake balls in candy coating, it is best to use a spoon to coat them evenly, as well as to work with a partner. In our situation, we had one person coating each ball, while the other decorated them. They need to be decorated immediately after coating because they will dry pretty fast.

Make sure to allow the cake balls to cool in the refrigerator for at least 30 minutes to set again before you begin wrapping them in cellophane. They could potentially sweat.

Voila!

Wednesday, June 16, 2010

Wedding Recap #1: The Cake

I'm planning to recap the wedding with you all as much as possible before we head out for our honeymoon on Monday. To begin my recaps, I want to share with you all of the projects and details that were done the week of the wedding. Then, I'll share our rehearsal, rehearsal dinner, getting ready, ceremony and reception. But I wanted to start these recaps off with our major FAIL of the week. My husband is a baker, and I enjoy decorating and such, so we decided to take on the task of baking and decorating our own cake.

The baking was easy-peezy..

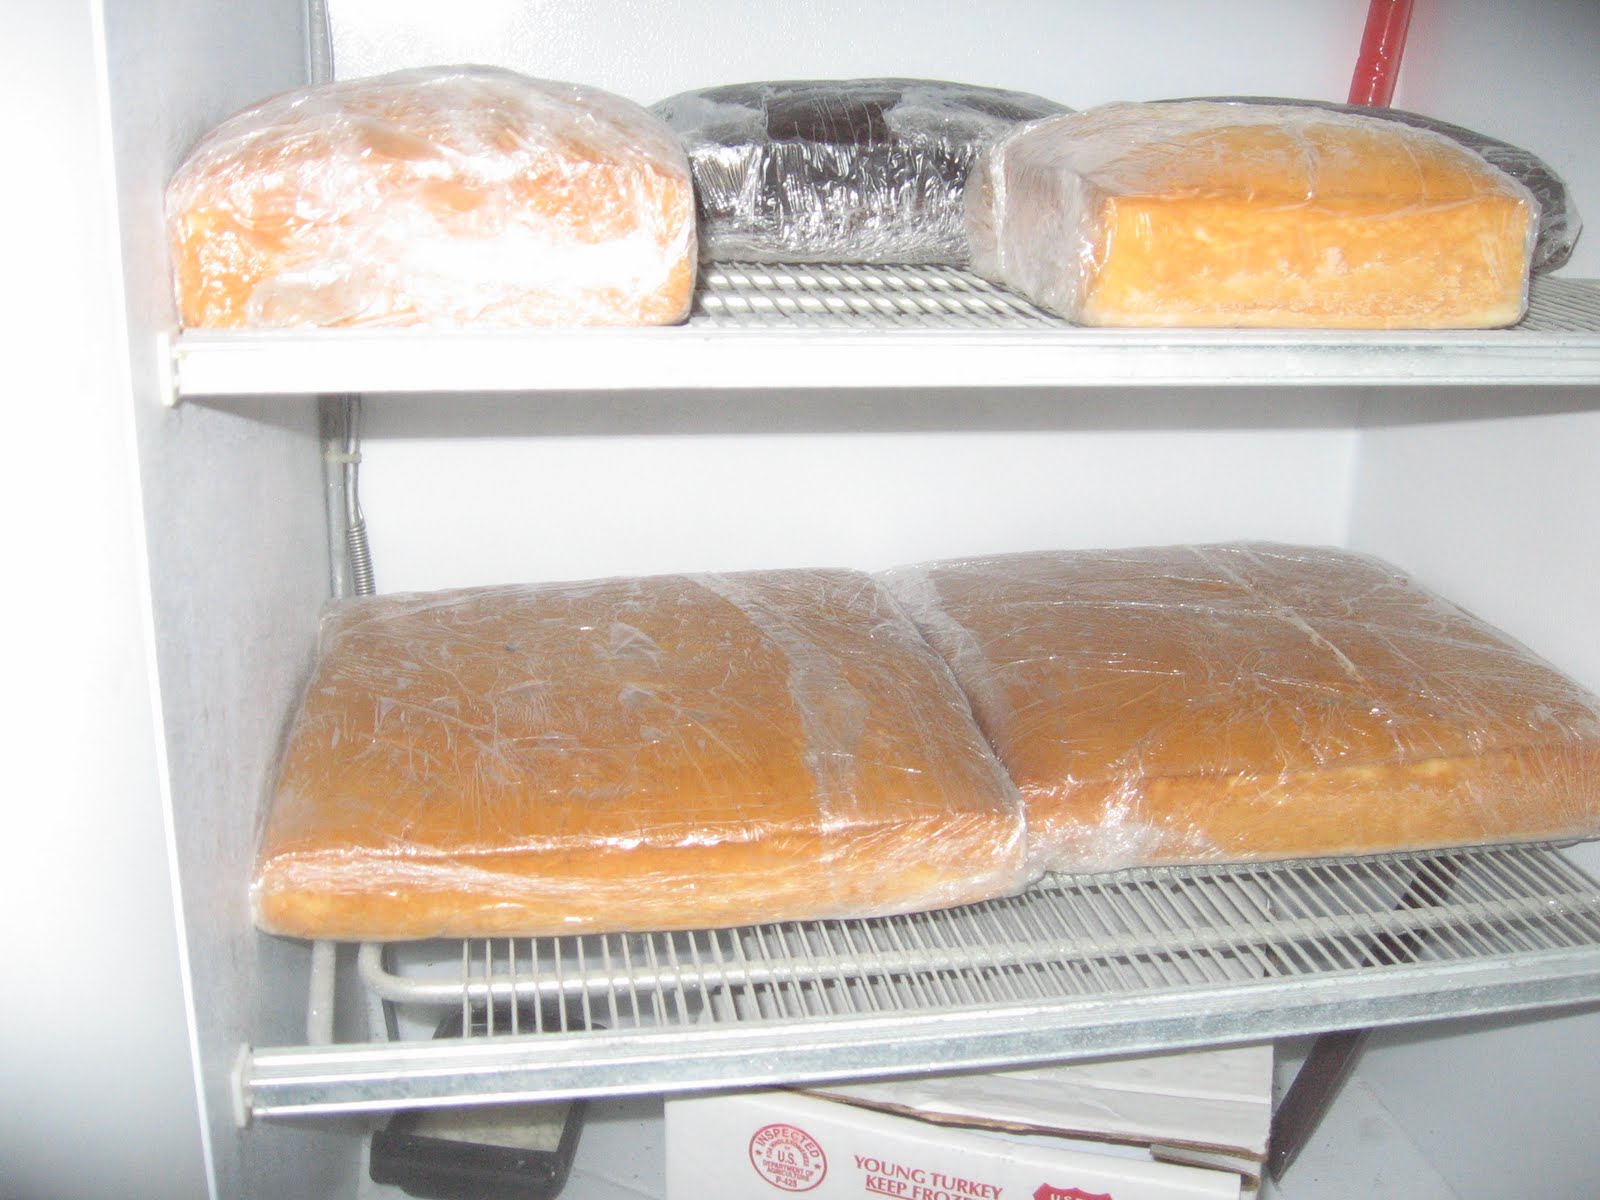
The cake layers lay all pretty and such in my parents freezer. Oh the mayhem to come...

A few days later, we filled, crumb-coated and stacked the individual layers. Still everything was going smoothly. No issues!


If you remember previously, my husband and I made the top layer of our cake to practice..


It was so perfect! At the time! 

So this time around when we began working with the fondant and stacked the layers.. it looked okay. Until.. the cake began to lean. We had put dowel rods and such between the layers to support one another, but it didn't matter. And after my dear husband had brought home all of the stuff needed to do the fondant, it had become a total waste. Check out our 50 lb bag of powdered sugar!


We decided to just buttercream the layers as smoothly as we could. We even bought these tiny jars of dye that dye buttercream frosting to match our colors. It seemed like a sure proof plan! We were up until 4:00am on the day of the wedding just trying to get this thing to look right. It was a no go. So after 3 hours of sleep, my husband went down to the bakery where he worked, and asked if there was any way possible of icing 100 cupcakes for our guests that day. They said that no matter what it took that they would get it done.
WHEW! I was so relieved that we didn't have to take our disaster of a cake to the reception hall. 

My husband's boss/owner of the baker then called my husband to find out the whole story of what happened with our original cake. After much explanation, his boss said that they couldn't do the cupcakes afterall. My husband was disappointed but he understood. He then said, "You guys need a real wedding cake at your wedding." We were shocked. We felt so blessed because he saved our butts that day. On top of that, he gave it to us free of charge! That was the first time I cried on our wedding day after hearing that wonderful news. And after only about 4-5 hours of baking, crumb-coating, stacking, icing and decorating. We had our beautiful cake delivered at the reception before guests arrived by the owner himself...


My advice? Trust the professionals when it comes to completing your cake. I may have been the DIY bride, but this is one project that even I couldn't do.


Oh, and what happened to our original disaster cake you may ask? When my parents returned home from the reception, they found this...


It died. 
Fell over at some point during the day. Ah, what memories we have!

Saturday, June 5, 2010

New Escort Cards - Check!

So my original idea of escort cards didn't work out. I decided that I wanted a different design, so I started over. I took the time to make these a while ago..


And I still wanted to use them, so this is what I did!


Whatcha think? I love them and these pictures certainly do them no justice, but once our professional photographer gets better pictures of them on wedding day, I'll be sure to share them with you all!

Menu Cards & Napkin Folding - Check!

I wanted to print enough menus to sit at each place setting inside of the napkins, so I designed my menu, which looks like so..

And with the napkins, they look like this..


I bought our cloth napkins from linentablecloth.com a few months ago. I was able to use a coupon code good for 30% off the entire order (I also purchased linens as well) and since I spent more than $50, shipping was free! I got a really great deal on them.

Anyways, I took to the internet to find how to fold the napkins. If you want the napkins to fold better, I highly suggest ironing them. Iron them on a low setting at first as to ensure that you won't burn them. It took me 3 hours to iron 120 napkins, but I watched a marathon of America's Next Top Model at the same time, so it wasn't so bad.


All nicely ironed.


Here is how I folded them:

1. Lay out a flat napkin.


 2. Fold the napkin in half, with the crease facing you and the open end away from you.


 3. Fold the top layer of the napkin down in half.


 4. Flip the entire napkin over.


  5. Now fold over a portion of your napkin inward. I folded in about 4 inches.


 6. Fold over again and finally once more to complete your folded napkin.


Related Posts Plugin for WordPress, Blogger...